Introduction
Drupal is one of the greatest free and open-source content management systems that used to make many of the websites you see every day.
Easy content authoring, excellent security, and reliable performance are some of the most important benefits of using Drupal, but the most important feature of Drupal that sets it apart from other CMS is the flexibility and modularity which is one of the core principals of it.
It’s also a great choice for creating integrated digital frameworks. You can extend it to anyone, or many, of thousands of add-ons. Modules expand Drupal’s functionality.
Prerequisites:
For install and using Drupal, you need the following things:
- A web server like Apache or Nginx
- A database like Mysql (MariaDB)
- PHP 5.5 or Higher
We are going to Install Apache as our web server, MariaDB as our Database and PHP 7.
Install Apache
install Apache from the official repository with the command below:
yum install httpd
After installation execute the following commands to start your Apache service and make it run at startup;
systemctl start httpd

systemctl enable httpd
Install MariaDB
MariaDB 5.5 is provided by the official RHEL repository and you can install it easily and it’s fine with Drupal (tested out) but it’s not the latest version if you want to install the latest version you need to add the official MariaDB repository first.
Install MariaDB 5.5
As told you can easily install it with the following command:
yum install mariadb-server
Start and Enable the MariaDB service:
systemctl start mariadb

systemctl enable mariadb
Install MariaDB 10.2 (Latest)
At the time of the writing, 10.2 is the latest stable version of MariaDB.
For adding the MariaDB official repository create a file called “mariadb.repo” with the command below:
nano /etc/yum.repos.d/mariadb.repo
And paste the following configuration in it, then save and exit:
# MariaDB 10.2 CentOS repository list - created 2017-09-23 08:48 UTC
# http://downloads.mariadb.org/mariadb/repositories/
[mariadb]
name = MariaDB
baseurl = http://yum.mariadb.org/10.2/centos7-amd64
gpgkey=https://yum.mariadb.org/RPM-GPG-KEY-MariaDB
gpgcheck=1
Now you can install MariaDB 10.2 with the following command:
yum install mariadb-server
And after the installation, don’t forget to start and enable the service:
systemctl start mariadb

systemctl enable mariadb
Install PHP 7
PHP 7 is not provided by the official repository, but you can install is from “Webtatic”.
For adding “Webtatic” repo you need to install “EPEL” first:
yum install epel-release
Then you can execute the following command to add the Webtatic repository as well:
rpm -Uvh https://mirror.webtatic.com/yum/el7/webtatic-release.rpm
Now you can install PHP 7 and the needed extensions with the following command:
yum install php70w php70w-curl php70w-gd php70w-pear php70w-mbstring php70w-xml php70w-phar php70w-json php70w-mysql php70w-opcache
Creating Database
First of all, we need to do some initial configuration for MariaDB.
Run the Mysql installer script with the following command:
mysql_secure_installation
Set a password for the “root” user and answer all other question with “y”
Login to root user with the following command:
mysql -u root -p
Now we can create our database with the command below (Make sure to replace the red parts with your preferred values):
create database HS;
grant all privileges on HS.* to 'username'@'localhost' identified by 'password';
flush privileges;
Download and install Drupal
Download the Drupal source from its official website in your document root:
cd /var/www
wget https://ftp.drupal.org/files/projects/drupal-8.3.7.tar.gz
Extract the file:
tar xvzf drupal-8.3.7.tar.gz
Switch to Drupal source directory:
cd drupal-8.3.7
Move everything to the correct document root:
mv ./* /var/www/html
You have to set “Apache” as the owner of the Drupal Files with the following command:
chown -R apache:apache /var/www/html
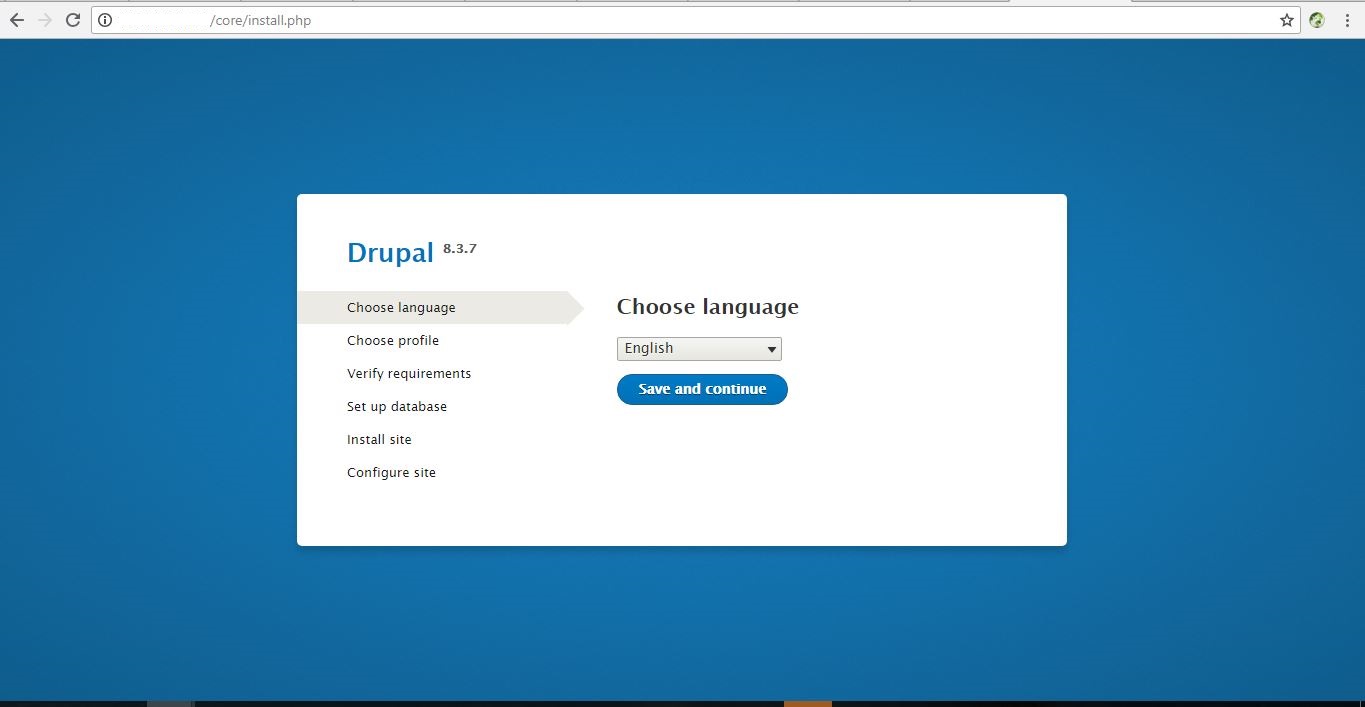
Now you can open your browser and enter your server Domain name or IP address to see the following page:

https://www.drupal.org/
Next step enter all the details and configure and go ahead,finally after the installation is complete you will get the page like that,


