Introduction
Laravel is a powerful MVC-PHP framework, designed for developers who need a simple and elegant toolkit to create full-featured web applications. Laravel was created by Taylor Otwell. In this guide, we will install Laravel 5.5 on CentOS 7 and as you might already know Laravel 5.5 depends on PHP 7.0+ so we are going to install the latest stable version of PHP which is 7.1 and finally serve the whole thing with Apache web server.
Prerequities
1.Server with SSH
Article contains:
- Installing Apache
- Installing PHP 7.1
- Download & Install Composer
- Configuring Apache
- Set the Permissions
- Test
Install Apache
You can install Apache 2 easily using “yum” with the following command:
yum install httpd
After the installation process is finished you can use the commands below to start your Apache service and make it run at startup:
systemctl start httpd
systemctl enable httpd
Install PHP 7.1
PHP 7.1 is not provided by the official RHEL repository so you have to add “Webtatic” repo in order to install it easily.
First, install EPEL repository with the following command:
yum install epel-release
Now you can add the Webtatic repo:
rpm -Uvh https://mirror.webtatic.com/yum/el7/webtatic-release.rpm
Update your repository list with the command below:
yum repolist
execute the command below to easily install PHP 7.1 and the needed extensions:
yum install php71w php71w-common php71w-gd php71w-phar php71w-xml php71w-cli php71w-mbstring php71w-tokenizer php71w-openssl php71w-pdo
Download Composer
For installing the latest version of Laravel we need to get the Composer dependency manager:
curl -sS https://getcomposer.org/installer | php
Execute the following command to move your Composer binary file to the executable path:
mv composer.phar /usr/local/bin/composer
Now you can run the command below to download and install Laravel directly into your Apache document root:
composer create-project laravel/laravel /var/www/html/laravel
Set the correct DocumentRoot
Open the HTTPD global configuration file:
nano /etc/httpd/conf/httpd.conf
Find the line that refers to:
DocumentRoot “/var/www/html”
and change it like below:
DocumentRoot "/var/www/html/laravel/public"
Then save and exit.
Restart Apache to take effect:
systemctl restart httpd
Set the Permissions
Execute the following command one by one to set the proper permissions:
chown -R apache:apache /var/www/html/laravel
chmod -R 755 /var/www/html/laravel/storage
If your Firewall is active you should execute the following commands in order to allow HTTP and HTTPS ports:
firewall-cmd –permanent –add-port=80/tcp
firewall-cmd –permanent –add-port=443/tcp
Test if everything works fine
Now you can open your browser and see your public IP address or your Domain through it.
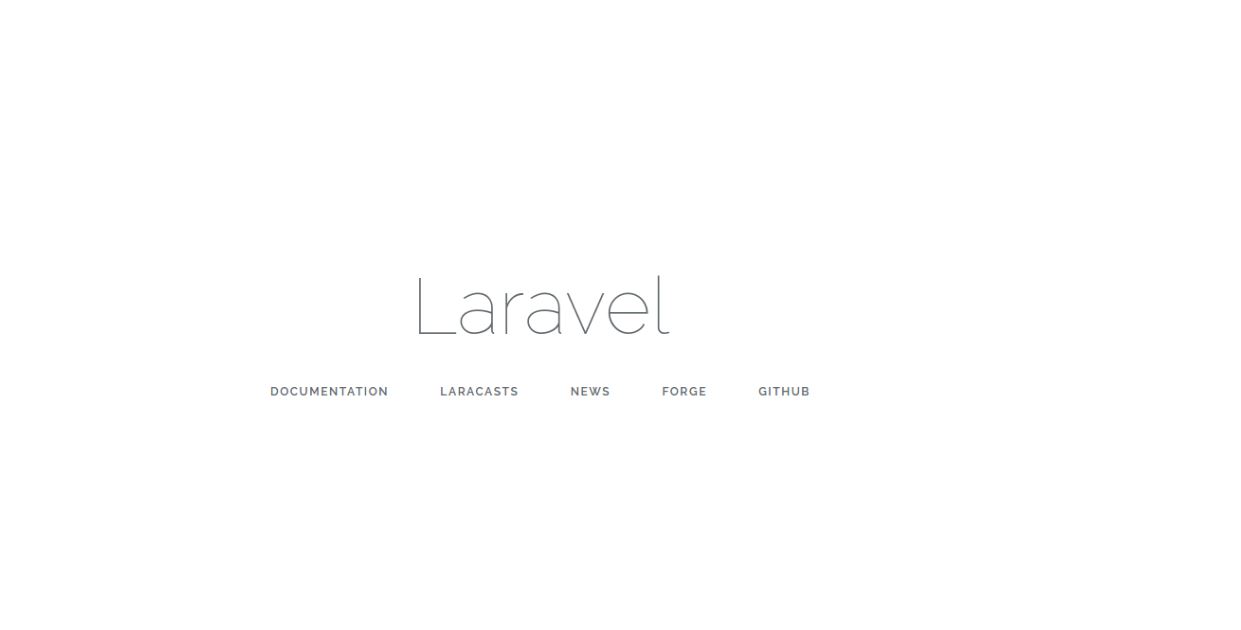
You should see a page like below:

laravel
And you can verify that you installed Laravel 5.5 with the following command:
cd /var/www/html/laravel php artisan -V
Hope the above post will guide you to isntall laravel and to know more about click here.

