What is WHM (Web Host Manager)?
With the WHM, you can access and manage multiple cPanel accounts from one dashboard. This makes it easy for you to run your own server without comprehensive knowledge of OS commands.
When you’re managing multiple projects on the same server, WHM gives you a lot more power and versatility. You can use it to configure and control your server, while website owners develop their personal projects with the help of their cPanel accounts.
You can purchase our Reseller hosting or VPS Hosting or Dedicated server you will get WHM access.
Set Private Nameserver in WHM
Setting up custom/private nameservers in WHM (Web Host Manager) involves a few steps
You can set your custom/private nameserver from WHM.
Step 1. Login to your WHM Account.
Log in to WHM using your credentials. Usually, you can access WHM by going to:
https://your-server-ip:2087
Step 2. Navigate to Basic WebHost Manager(WHM) Setup
Once logged in, you’ll be on the WHM home screen. Look for the search bar and type “Basic WebHost Manager Setup” or type Basic in the search box and it will display the Basic WebHost Manager® Setup option. Click on it.
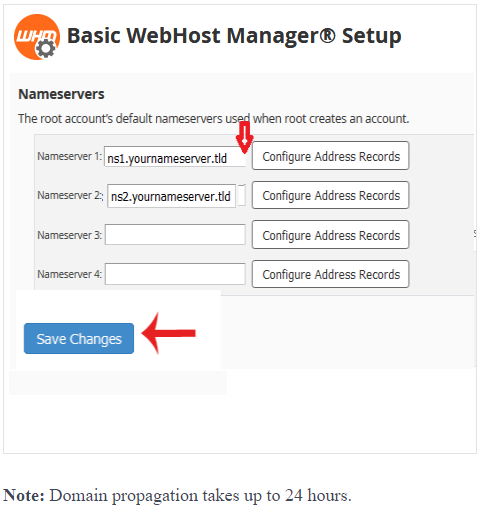
Step 3: Configure Basic WebHost Manager Setup
In the “Basic WebHost Manager Setup” screen, look for the option called “Basic Config.” Here, you’ll find the following settings:
- Primary Nameserver: Enter the hostname for your primary nameserver (e.g., ns1.yourdomain.com).
- Secondary Nameserver: Enter the hostname for your secondary nameserver (e.g., ns2.yourdomain.com).
- Enter a 3rd nameserver if you have one: If you have a third nameserver, enter its hostname.
- Enter the IP address for each nameserver: Provide the IP addresses corresponding to each nameserver.